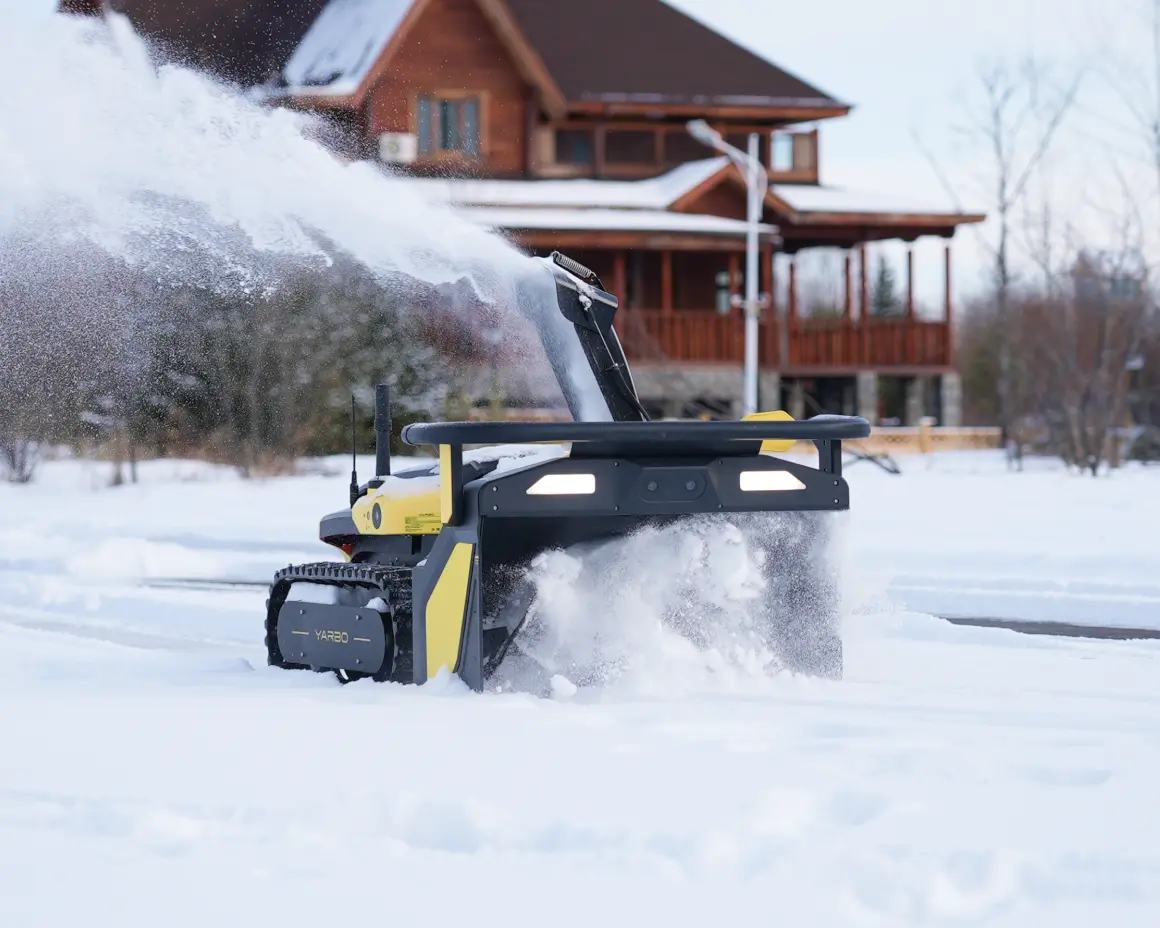
If you own a robotic snow blower, you already know how snow blower repair convenient winter cleanup can become. But the moment shear pin breakage happens, everything stops literally. The auger won’t spin, snow won’t move, and your robot won’t complete its path. Since snow blower shear pin failure is unavoidable under certain conditions, knowing how to fix it fast matters.
This guide explains why shear pins break, how to repair them correctly, and what you can do to prevent repeated failure. Whether you’re new to robotic snow blowers or upgrading from a traditional machine, this article gives you everything you need to avoid costly snow blower repair and downtime.
Table of Contents:
What Is a Shear Pin and Why Does It Matter?
A shear pin is a small, intentionally fragile bolt that connects your auger to the drive shaft. Its job is to break on purpose when the auger hits something hard ice chunks, rocks, frozen extension cords, or buried sticks.
Its purpose is simple:
-
Protect the gearbox
-
Protect the motor
-
Protect the auger
-
Prevent high-torque damage
In robotic snow blowers, the design is even more precise. The machine’s sensors rely on the auger’s rotation to determine load and resistance. A broken shear pin immediately stops the auger, preventing more serious internal failures. In short, shear pins save your machine but replacing them quickly is important to keep your snow-clearing schedule on track.
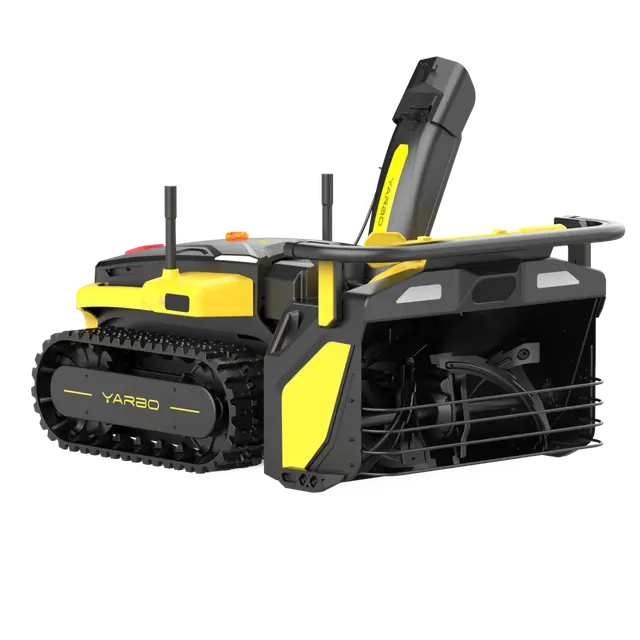
Why Shear Pins Break in Robotic Snow Blowers
Shear pins are meant to break, but frequent breakage usually signals a deeper issue. Here’s why most robotic snow blowers snap them:
-1.png?w=916&h=844)
Hidden Obstacles
Even small debris can trigger a break, including:
- Hard-packed snow
- Ice chunks
- Stones
- Frozen dog toys
- Branches
Robotic machines are especially vulnerable because they work autonomously.
Heavy Wet Snow
Wet, slushy snow puts more strain on the auger, increasing torque and snapping pins faster.
Worn Auger Bushings
When bushings wear down, alignment shifts causing uneven pressure on shear pins.
Incorrect Snow Blower Shear Pin Type
Using the wrong grade, wrong size, or low-quality replacements leads to:
- Premature breakage
- No breakage (which is dangerous)
- Misalignment issues
Overworking the Robot
If your robot runs continuously during storms, snow buildup may exceed design limits.
Understanding these causes helps you choose the right repair and prevent future failures.
Recognizing Snow Blower Shear Pin Breakage
Your robotic snow blower won’t always tell you directly that a shear pin has broken or the its time for snow blower repair— but you can detect it fast by watching these signs:
Auger Stops Spinning
The robot moves normally, but no snow comes out of the chute.
Grinding or Whirring Noise
The motor spins, but the auger is disconnected.
Uneven Snow Output
Snow may spray irregularly or not at all.
Visible Snap at the Pin Hole
Look for:
-
Missing pin
-
Bent pin
-
Sheared-off ends inside the hole
If you see ANY of these signs, stop the machine immediately to avoid extra strain on the gearbox.
Tools & Replacement Parts Needed
Here’s everything you need for a smooth repair:
Tools
-
Adjustable wrench
-
Socket set
-
Flathead screwdriver
-
Penetrating oil
-
Rubber mallet
-
Punch tool
-
Safety gloves
Parts
-
Correct OEM shear pins
-
Lock nut or cotter pin
-
Spare set for the season
Buying OEM pins ensures proper break strength. Generic pins often break too easily or never break at all — both of which are dangerous.
Step 1 — Clear Snow, Ice, and Obstructions
Before installing the new shear pin:
-
Remove all snow from the auger compartment.
Use a scoop or gloved hands. Never use bare hands.
-
Rotate the auger manually.
This helps identify:
-
Internal clogs
-
Ice jams
-
Bent fins
-
Inspect the auger blades.
Look for dents or bends that may have caused the break.
Once clear, you can safely work on the snow blower shear pin replacement.
Step 2 — Removing a Broken or Seized Shear Pin
A break doesn’t mean the pin falls out cleanly. Sometimes a portion remains inside the shaft.
How to Remove It Safely
-
Spray penetrating oil
This loosens rust, ice, and corrosion.
-
Use a punch tool
Tap gently to push out the broken piece.
-
Tap softly with a mallet
Never strike hard — this can dent the auger.
-
Drill only if absolutely necessary
Use a small bit to avoid widening the hole.
A stuck pin is extremely common in robotics because the machines stay outdoors in cold moisture.
Step 3 — Installing the New Shear Pin
Now the fun part — replacing the pin.
Steps
-
Align the holes on the auger and shaft.
-
Insert the new shear pin.
-
Slide it gently until fully through.
-
Add the lock nut or cotter pin.
-
Tighten carefully, not too loose, not too tight.
The new shear pin should sit firm but still be able to shear under correct load.
Step 4 — Testing Your Repair
Before sending your robot back to work:
Rotate the Auger Manually
It should move smoothly with no grinding noise.
Power on the Robot
Watch the auger spin freely.
Run a Light Test
Use it on soft snow or test in the air.
Observe for Vibration or Unusual Sounds
These can indicate misalignment.
If everything feels normal, you’re ready for full operation.
What to Do If the Holes Won’t Align
This happens more often than people think.
Common Causes
-
Bent auger
-
Ice buildup
-
Shaft shift from impact
-
Twisted auger rods
Fixes
-
Rotate the auger slowly while checking alignment
-
Warm the pin area to melt ice
-
Use a rubber mallet (lightly) to realign
If alignment is off by more than a few millimeters, the auger may be bent.
Removing Rusted or Corroded Pins
Robotic snow blowers often sit in moisture, causing rust.
Best Removal Methods
-
Apply penetrating oil
-
Tap with punch
-
Use a heat gun (not open flame)
-
Drill slowly if needed
Keeping a spare set of pins stored indoors prevents emergency trips in harsh weather.
Preventing Future Shear Pin Breakage
You can’t avoid every break, but you can avoid MOST of them.
Preventive Tips
- Clear driveway debris before storms
- Avoid using the robot on gravel
- Don’t force it into hard-packed snow
- Use only approved shear pins
- Replace worn bushings
- Inspect auger alignment monthly
A well-maintained robotic snow blower breaks fewer pins and lasts longer.
Conclusion: Keep Your Robot Running Strong
Shear pin breakage is annoying, but it’s also a smart safety mechanism that keeps your robotic snow blower protected from major damage. With the right tools, proper knowledge, and regular maintenance, snow blower repairs become quick and easy. Always keep spare pins on hand, avoid using substitute bolts, and watch for early signs of misalignment.
A few minutes of maintenance can save you hundreds of dollars — and keep your winters stress-free.
FAQs
1.Can I use a regular bolt instead of a shear pin?
No — this will damage the gearbox and void most warranties.
2.Why does my snow blower shear pin keep breaking?
Probably debris, misalignment, or the wrong pin grade.
3.How often should I check the pins?
Before every storm and every 2–3 hours during heavy use.
4.Do robotic snow blowers use special shear pins?
Yes — they are calibrated for motor torque and sensor feedback.
5.What if the pin gets stuck halfway?
Use penetrating oil, a punch, and patience.
6.Do I need to replace both shear pins if one breaks?
It’s recommended — if one failed, the other is likely worn.
-7.png?w=1001&h=621)
 Private group · 33.0K members